How To Shade
How To Shade
a quick tutorial on shading (with graphite) by yours truly. this is the process I use for shading, and there are tons more out there if this one doesn’t work for you.
MATERIALS USED

1 HB graphite pencil
1 2B graphite pencil
1 4B graphite pencil
1 blending stub (the bigger the better)
1 plastic eraser (white)
1 kneaded eraser (grey)
now why do I use two erasers? well, they’re very different from one another, and each serves their own purpose.
the plastic eraser is harder, and when it erases, it erases everything. the kneaded eraser is soft, and it doesn’t completely erase everything all at once. you can use it to pick up some of the graphite and leave some behind, lightening (but not totally erasing) your shading. plus, the kneaded eraser is so soft you can mold it, and it doesn’t leave pencil shavings. if one end gets too used, you can just stretch it out, and it’s as good as new.
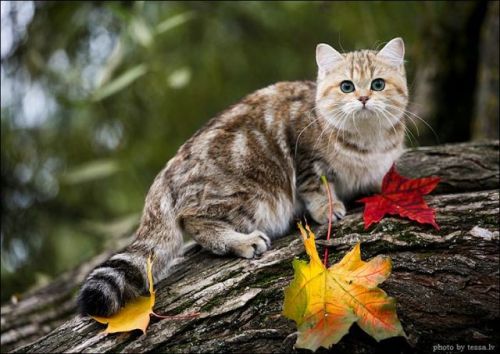
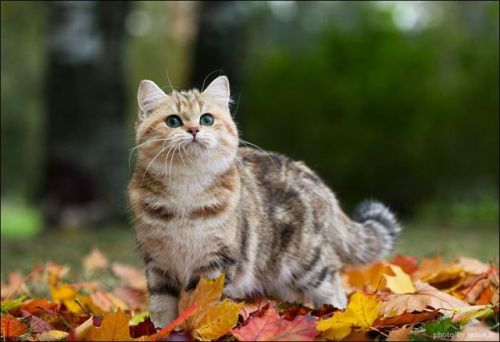
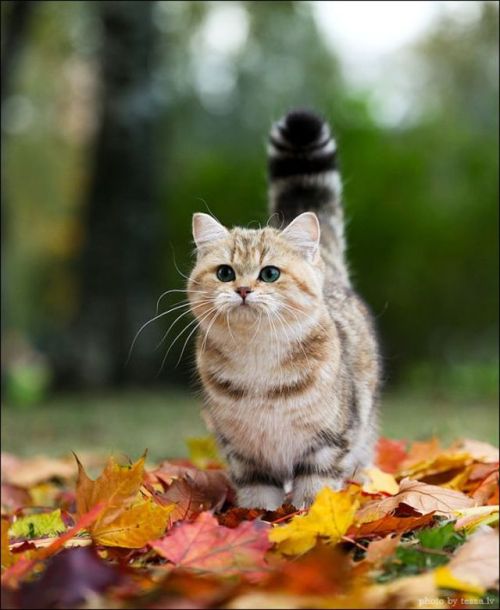
REFERENCE USED

now lets get this started, shall we?
STEP ONE
scribble lightly over your drawing with either an HB (aka a regular #2 pencil) or 2B pencil. you don’t have to be extremely neat, but do it light and nice enough so it can still be erased/you can still see the original lines underneath.

STEP TWO
take your blending stub (the wider the better, and if you don’t have one, use a tissue) and rub in the opposite direction of the scribbling. don’t press too hard, because it might streak/not work if you do.


STEP THREE
erase the extra shading around the edges (using the plastic eraser.).

STEP FOUR
roughly add your darks

STEP FIVE
roughly add your lights by erasing with the kneaded eraser

STEP SIX
add your finishing touches (secondary shadows, background, etc)

(I reshaped the sides, added more lights, and added the background shadow)
and voila! you just did some shading!
More Posts from Zelo-ref and Others


Several ornate pistols, photographed by my friend Hovercraft at the Forsvarsmuseet in Oslo. Captions, in order: Spanish snaplock pistol; German wheellock pistol; Scots flintlock pistol; 17th-century wheellock pistols; flintlock pistol.
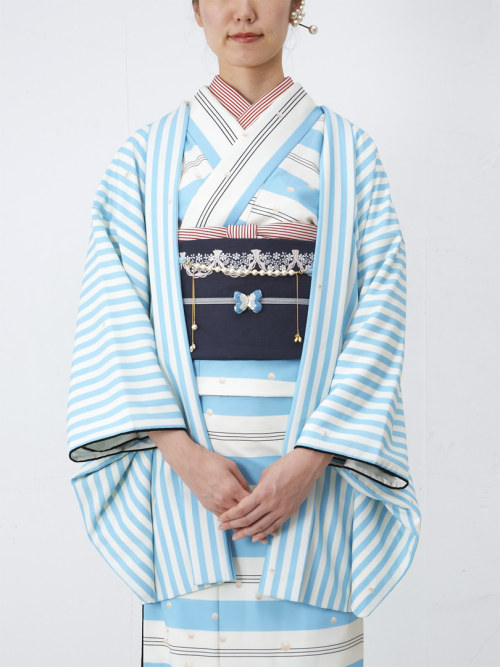
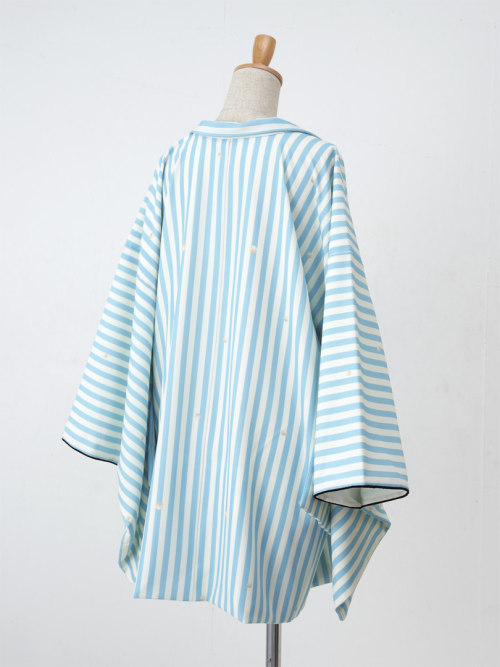

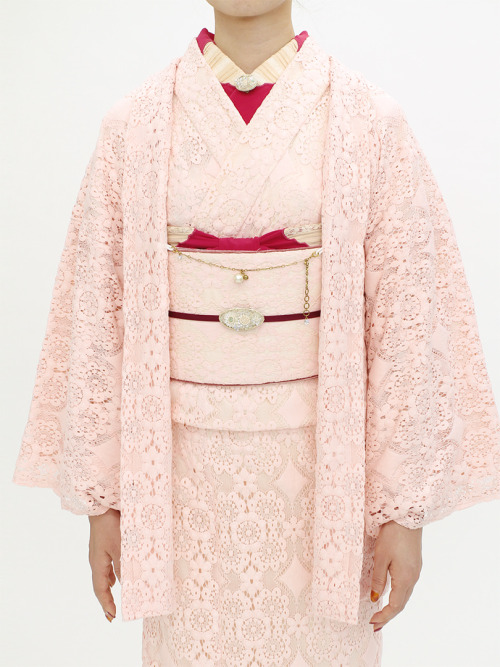
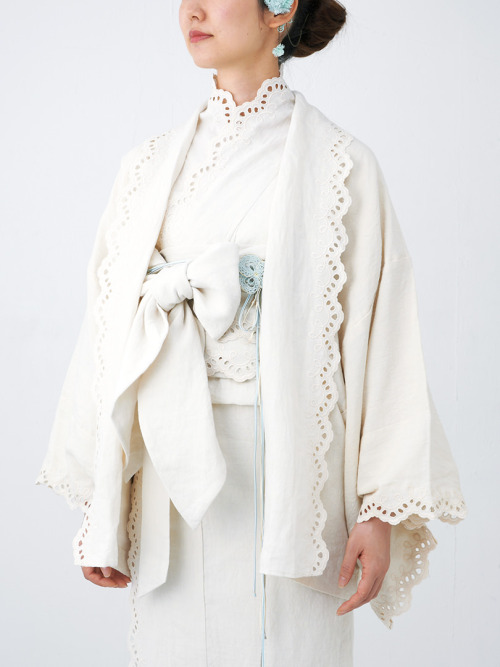


One more post from kimono shop “Double Maison”! These are very modern and cute takes on haori (kimono jackets).


People will stare. Make it worth their while → Julien Macdonald prêt-à-porter | S/S ‘13


Lip tutorial for anon!
Additional info: I find lips a pretty important defining feature when trying to draw people so that they are recognizable, so I’ve learned to really pay attention to their unique mouth shapes! However, since lips are usually quite small on the scale of a full drawing, I don’t use too much detail or contrast on them or they start to distract from other parts of the painting. This is usually the level of detail I stop at (thanks to the scaling trick! :D) since it implies plenty of detail from a distance.
I think I explained my thoughts pretty well, but if you do want more detail (ex for a close up rendering or hyper-realism) check out these other resources below!
fantasy lip tutorial by JoJoesArt
female lips by Cataclysm-X
three whole walkthroughs by Packwood
I hope someone finds this useful!
-
 unbiddenkitten420 liked this · 8 years ago
 -
 friendlyneighborhoodtree liked this · 8 years ago
 -
 aerstic-spire reblogged this · 8 years ago
 -
 merrychristmasmaddy liked this · 8 years ago
 -
 pinkbloodymurder-moved liked this · 8 years ago
 -
 dragonsarecats liked this · 8 years ago
 -
 purple-art-references reblogged this · 8 years ago
 -
 technicallytremendousangel liked this · 8 years ago
 -
 snowmansammy liked this · 8 years ago
 -
 cheekblood13 liked this · 8 years ago
 -
 ask-the-acropolis-trio liked this · 8 years ago
 -
 theb100p liked this · 8 years ago
 -
 crownthealice liked this · 8 years ago
 -
 arhawkeye liked this · 8 years ago
 -
 callmealyre liked this · 8 years ago
 -
 wishynova-blog liked this · 8 years ago
 -
 razzbears liked this · 8 years ago
 -
 2nstep liked this · 8 years ago
 -
 the22ndhour liked this · 8 years ago
 -
 stargrasper liked this · 8 years ago
 -
 ashen---demon liked this · 8 years ago
 -
 aguidetowriting reblogged this · 8 years ago
 -
 mayormurphy liked this · 8 years ago
 -
 neo-hellfire liked this · 8 years ago
 -
 sleepybrainiac liked this · 8 years ago
 -
 nikkimatsunos reblogged this · 8 years ago
 -
 sincerely-ramina liked this · 8 years ago
 -
 lelechi liked this · 8 years ago
 -
 space-ukulele liked this · 8 years ago
 -
 crazybutcalm2 liked this · 8 years ago
 -
 friendlyspacepotato liked this · 8 years ago
 -
 addictedsenpai reblogged this · 8 years ago
 -
 addictedsenpai liked this · 8 years ago
 -
 thisgirlneedslovereallybad liked this · 8 years ago
 -
 feyspaniel liked this · 8 years ago
 -
 pamboleo liked this · 9 years ago
 -
 papapapariss liked this · 9 years ago
 -
 hubbbaaa liked this · 9 years ago
 -
 isolationstreet liked this · 9 years ago
 -
 oneandonlykara liked this · 9 years ago
 -
 lestrangewolf liked this · 9 years ago
