One More Post From Kimono Shop “Double Maison”! These Are Very Modern And Cute Takes On Haori (kimono
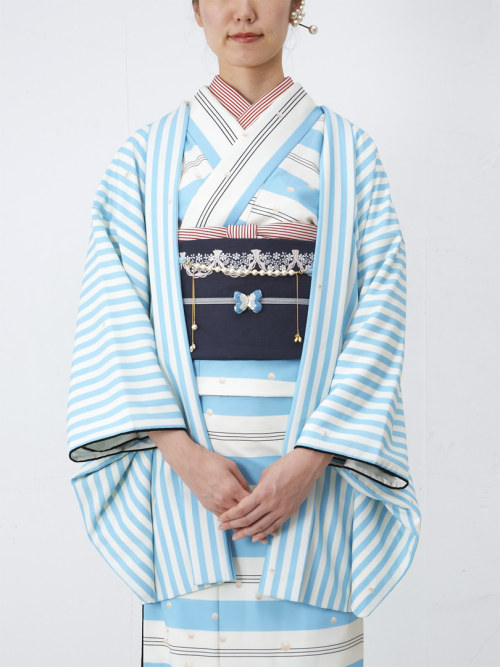


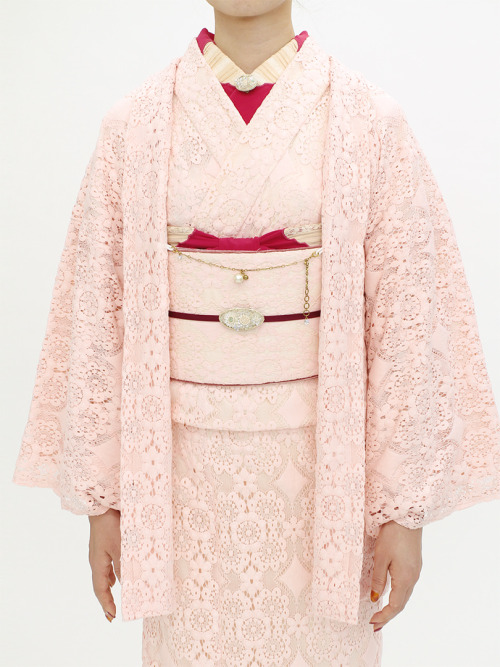
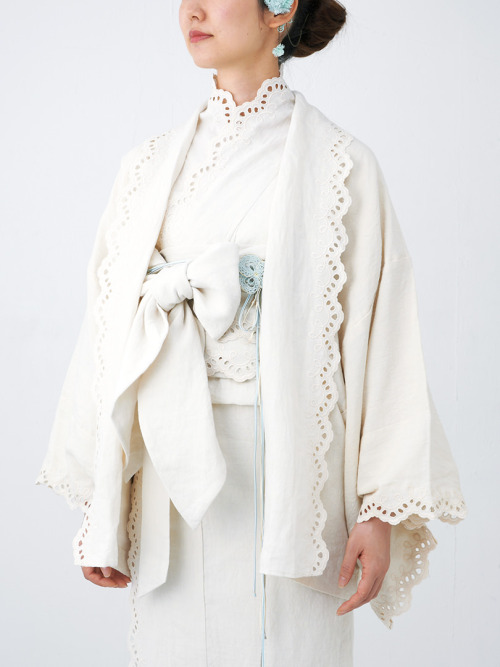


One more post from kimono shop “Double Maison”! These are very modern and cute takes on haori (kimono jackets).
More Posts from Zelo-ref and Others
If you're an artist looking to diversify your faces:
click this link
draw whomever you get
don’t worry about making it super-accurate, just focus on the characteristic parts of the face and have fun
the outcome might not look like the ref, but it will be different and more varied than faces you draw out of your head, an dprobably pretty rad on its own right!
feel free to reblog with your drawing, if you want!


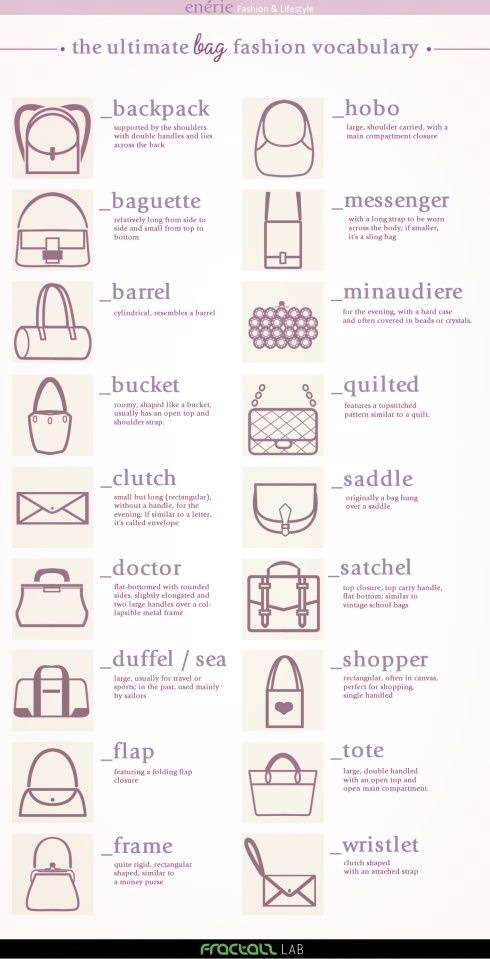


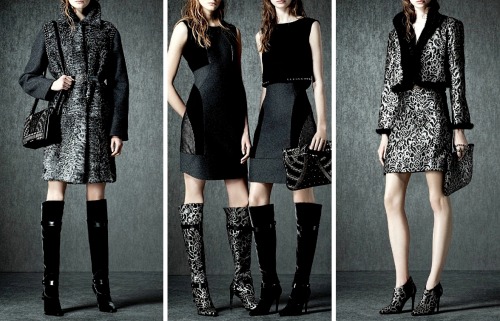
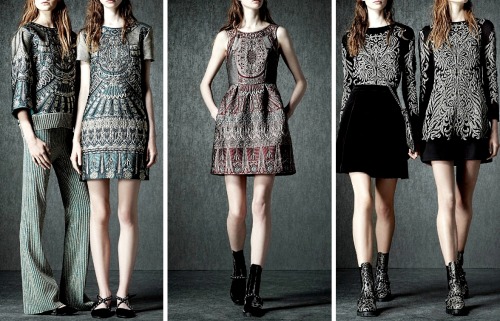
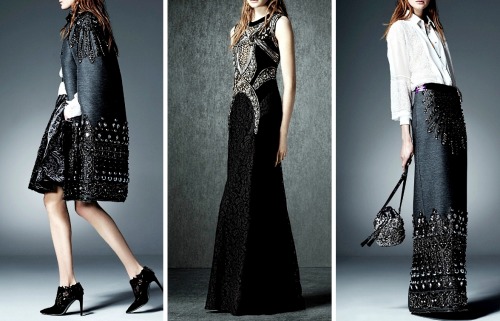
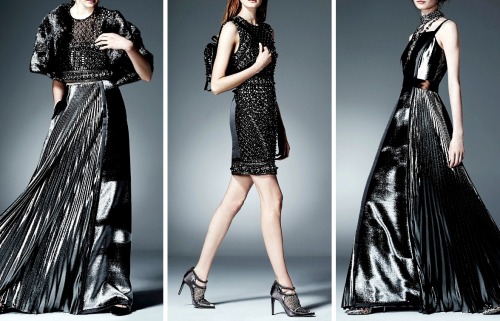
Right. Here it is everything you ever wanted to know about fashion cuts, trends, style, all in one post.
Every example of a trend that existed is list in the above post. So get to know your styles, perfect your image and enjoy mixing trends and different eras together.
Use these to help you, it’s a guide I found. Could be useful to some..I’ve learnt something new..half my wardrobe can now be categorised, I now know what to buy,styles etc.
The original content source is Pinterest.com, Fashion Editorials and Styling Templates. The accuracy I can’t account for 100% but I found this post very useful for myself! Please feel free to edit and update If you know the correct labelling for anything that is inaccurately categorised.
If nothing else, enjoy. 😍👌👌
Really usefull
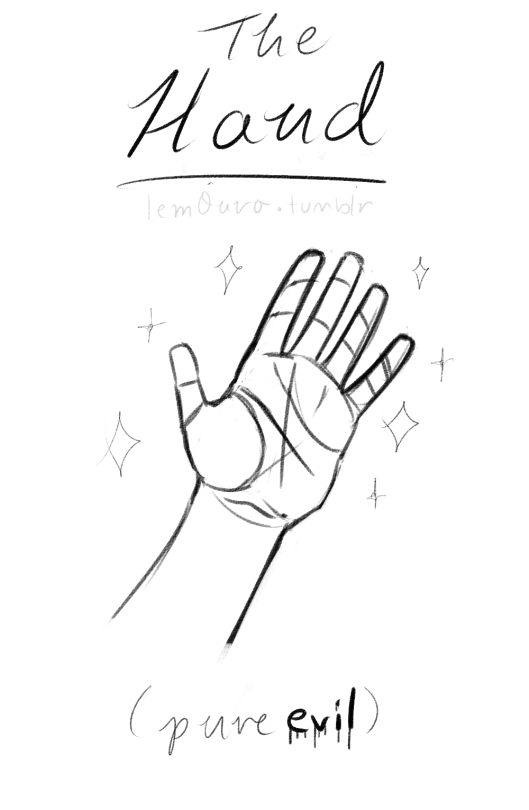
I'm kinda ashamed to ask this, but could you make a tutorial on how to draw hands? ;A;
omg dont be ashamed at all!! Hands are generally tough to get used to, lots of artists struggle with it! so dont be ashamed i feel you.
and I actually have made a hand anatomy guide before in fact! If you want to get better at drawing hands I def recommend you learn the basic anatomy first. Please check out the ones I made, I try to make it simple and easy to understand:
Artistic Anatomy: Hands Part 1
Artistic Anatomy: Hands Part 2
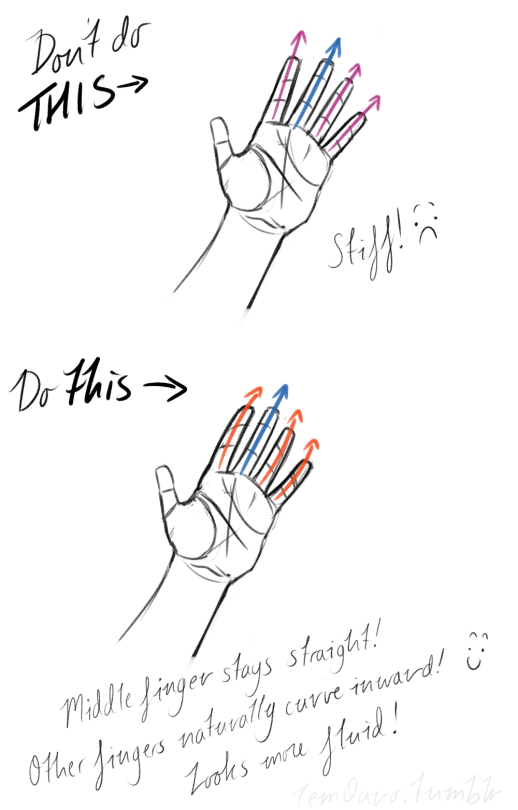
There’s my guide to the anatomy, but here’s some more tips that I’ve noted to myself that I’d like to include
First off, I’d like to just note on the fingers: if you pay close attention to your own hand, you may notice the fingers are ever ever so slightly curved inward. It’s a very subtle detail, but I noticed that, despite how slight it is, it can make a hand look more lively, and less stiff.
Second, the “M” on the palm! Your hand moves in many ways, and because it does it creates creases in your hand. The most prominent creases appear to make an M shape; this is handy to remember for what I’m going to talk about next. (It also could be a “W” I guess, or to be more specific a “ )X( “; just think of it in whatever way helps you remember!)

SO now that you see the M, draw your hand as a basic blocked shape and add your details. As you do, you can see that the M divides the palm into four basic parts!


When the hand moves, parts A, B, or C of the palm, alone or in different combos, will create the general poses that the hands do normally. These parts are the parts that move, with D being stationary, no matter what!
Here’s a chart of all the possible combos. Once you have down what part of the hand moves for a certain pose, you can change up the fingers and tweak it a bit to do what you need to make it more specific!
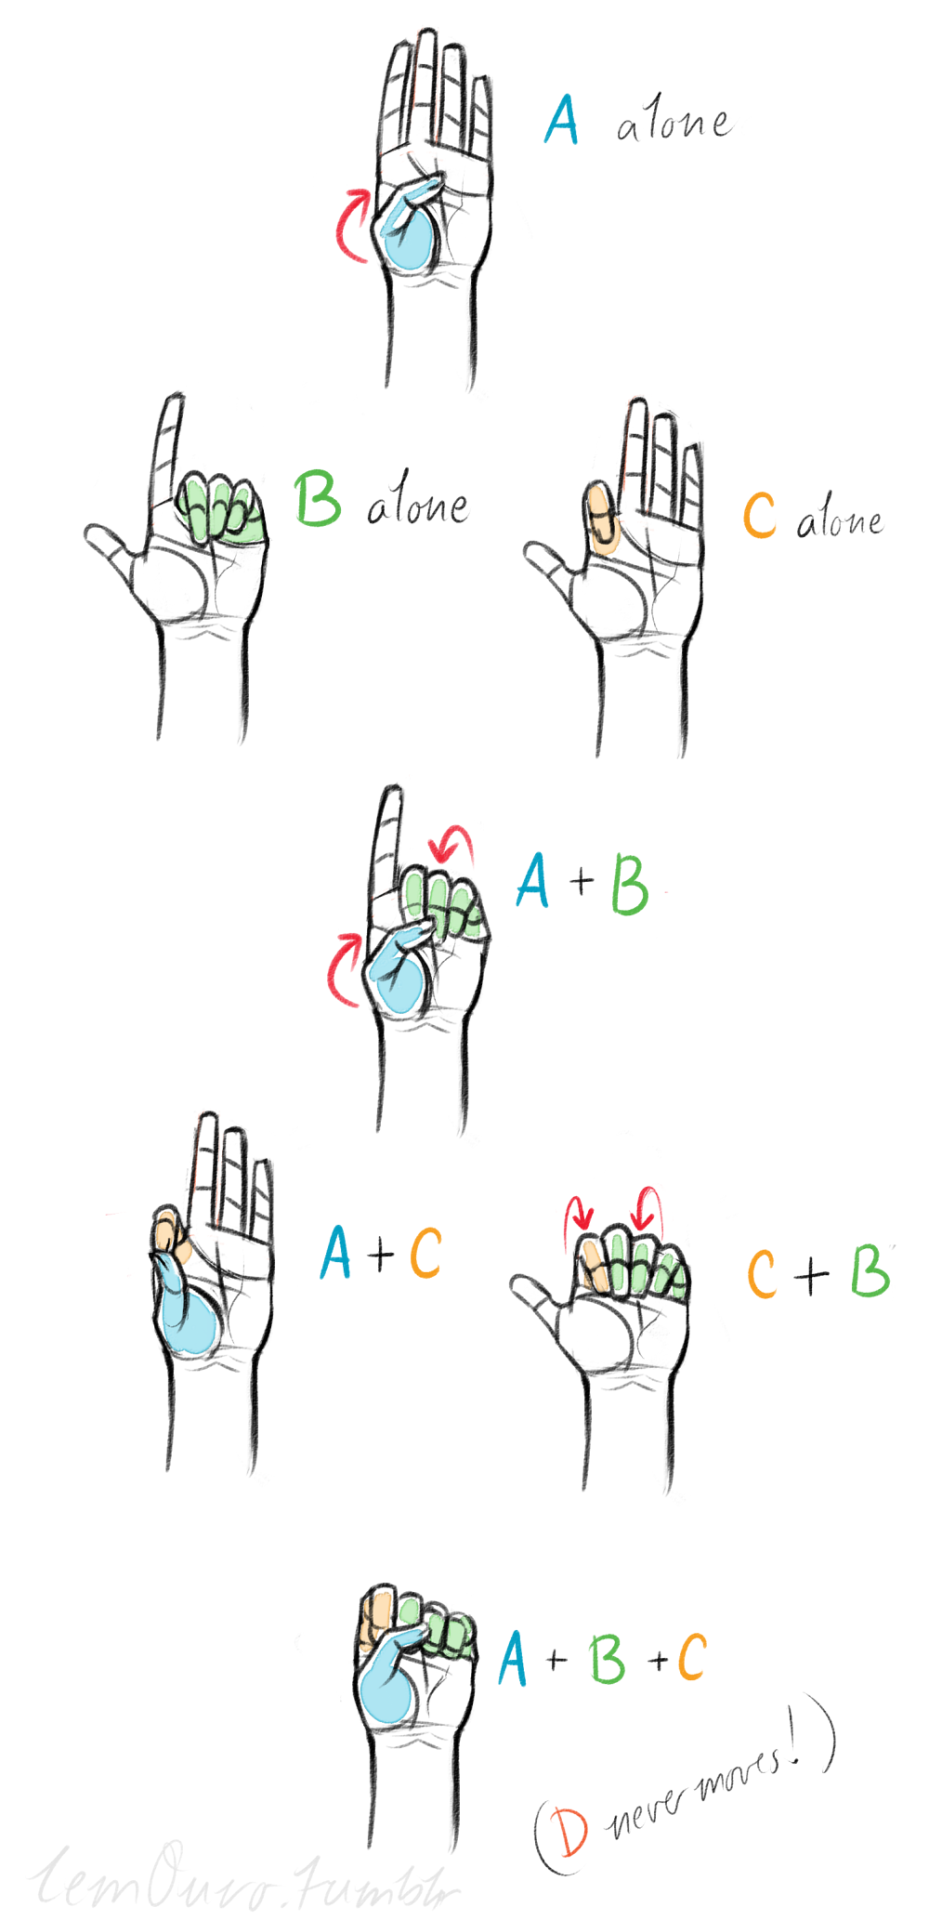
This is simply my method of drawing hands. God knows there are hundreds of tutorials out there by other artists, but personally, this way helps me the best (after learning the anatomy first).
This way I can divide the hand and combine the parts in any such way I need!
Hands take a lot of effort to grapple, and you need to practice them a lot, especially foreshortening of the hand; that’s really something you need to learn through your own studies. Look at your own hands, draw hands from life, from magazines, shows, comics; just draw hands! You’ll eventually figure out a method that works best for you. So to get better at drawing hands; draw hands!! And don’t stress over it, have fun with it!


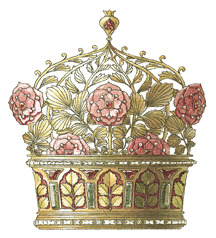
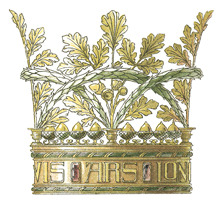
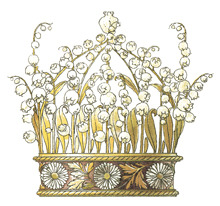
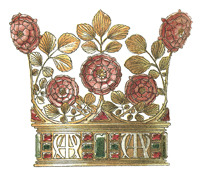
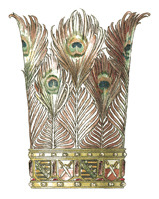

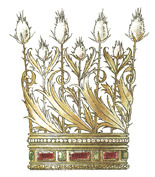

art nouveau crown illustrations
Hello! I'm a self taught artist who wants to get better at shading/lighting and backgrounds especially. But whenever I try to do a background study, I can't break it down and it ends up looking terrible. Do you know of anything that would help?

Hi! I would like to talk a little bit of the thought process behind photo study and the importance of simplicity.

It is really important to break down an image to chunks of value rather than seeing the detail first, which can lead to over-complicated mush of colors with no constructed value.
These are some of the artists that inspired me to get used to breaking down images in the most simplest way possible:

Notice how super simple and straight-on-point his thumbs are? And this is how his colorscript for Moana looks like:


Zero detail. Yet you have all the information you need!
I personally think these thumb studies are super important to train your eyes to break down an image in values and colors and therefore be able to organize and design your painting better.
You can actually add your own images into it if you want to compare more dynamic characters or use alternate poses. And I’ll show you how owo
1. You go on the site:

2. Left click the image and scroll down to inspect:


3. You see those two links down there? Those are the image links for the sillouhettes, just add your own image (must be a url, i personally like imgur):


4. And bingo bango! You got your own custom images to compare heights with! I hope this was helpful owo

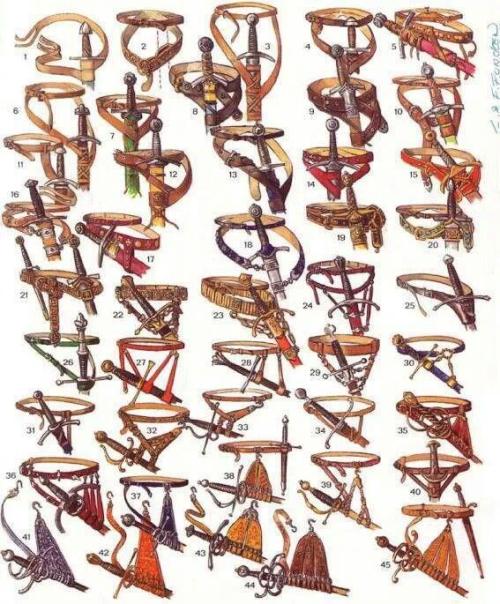
@History_Pics: Different ways to hang your sword. http://pic.twitter.com/3966S3BAzo
-
 aoi-24 reblogged this · 8 months ago
 -
 nerdy-chocomallow liked this · 11 months ago
 -
 nomnoms-world liked this · 1 year ago
 -
 nureba-eyes reblogged this · 1 year ago
 -
 kzma-izma liked this · 1 year ago
 -
 sarasoulsblog liked this · 1 year ago
 -
 softlittleheartsandsparkles reblogged this · 1 year ago
 -
 pumpkinsae liked this · 1 year ago
 -
 okoilo liked this · 1 year ago
 -
 swipefilehoard reblogged this · 2 years ago
 -
 maia2005rojas liked this · 2 years ago
 -
 1-800-i-want-nct liked this · 2 years ago
 -
 viellure liked this · 3 years ago
 -
 kiashi29 reblogged this · 4 years ago
 -
 digitaljellyfish liked this · 4 years ago
 -
 ayamarie94 liked this · 4 years ago
 -
 bippity-boppity-back-up liked this · 4 years ago
 -
 shilozidler liked this · 4 years ago
 -
 bannana-bun liked this · 5 years ago
 -
 peachdevilstentacle liked this · 5 years ago
 -
 sheepies liked this · 5 years ago
 -
 cabeza-de-tasa liked this · 5 years ago
 -
 cherry-disneyxx liked this · 5 years ago
 -
 nonpareilll liked this · 5 years ago
 -
 coral-collector-trashs-stuff liked this · 5 years ago
 -
 kanaeko liked this · 5 years ago
 -
 akita-inu7 liked this · 5 years ago
 -
 fimillith reblogged this · 5 years ago
 -
fimillith liked this · 5 years ago
-
 myamberreason reblogged this · 6 years ago
 -
 caesarisnotasalad reblogged this · 6 years ago
 -
caesarisnotasalad liked this · 6 years ago
-
 lovetwoyou liked this · 6 years ago
 -
 eizwein reblogged this · 6 years ago
 -
 dragonflykida reblogged this · 6 years ago
 -
 clovesandkimono reblogged this · 6 years ago
 -
 bugsupport liked this · 6 years ago
 -
 therealandeborg liked this · 6 years ago
 -
 somebodyhelpmes-blog liked this · 6 years ago